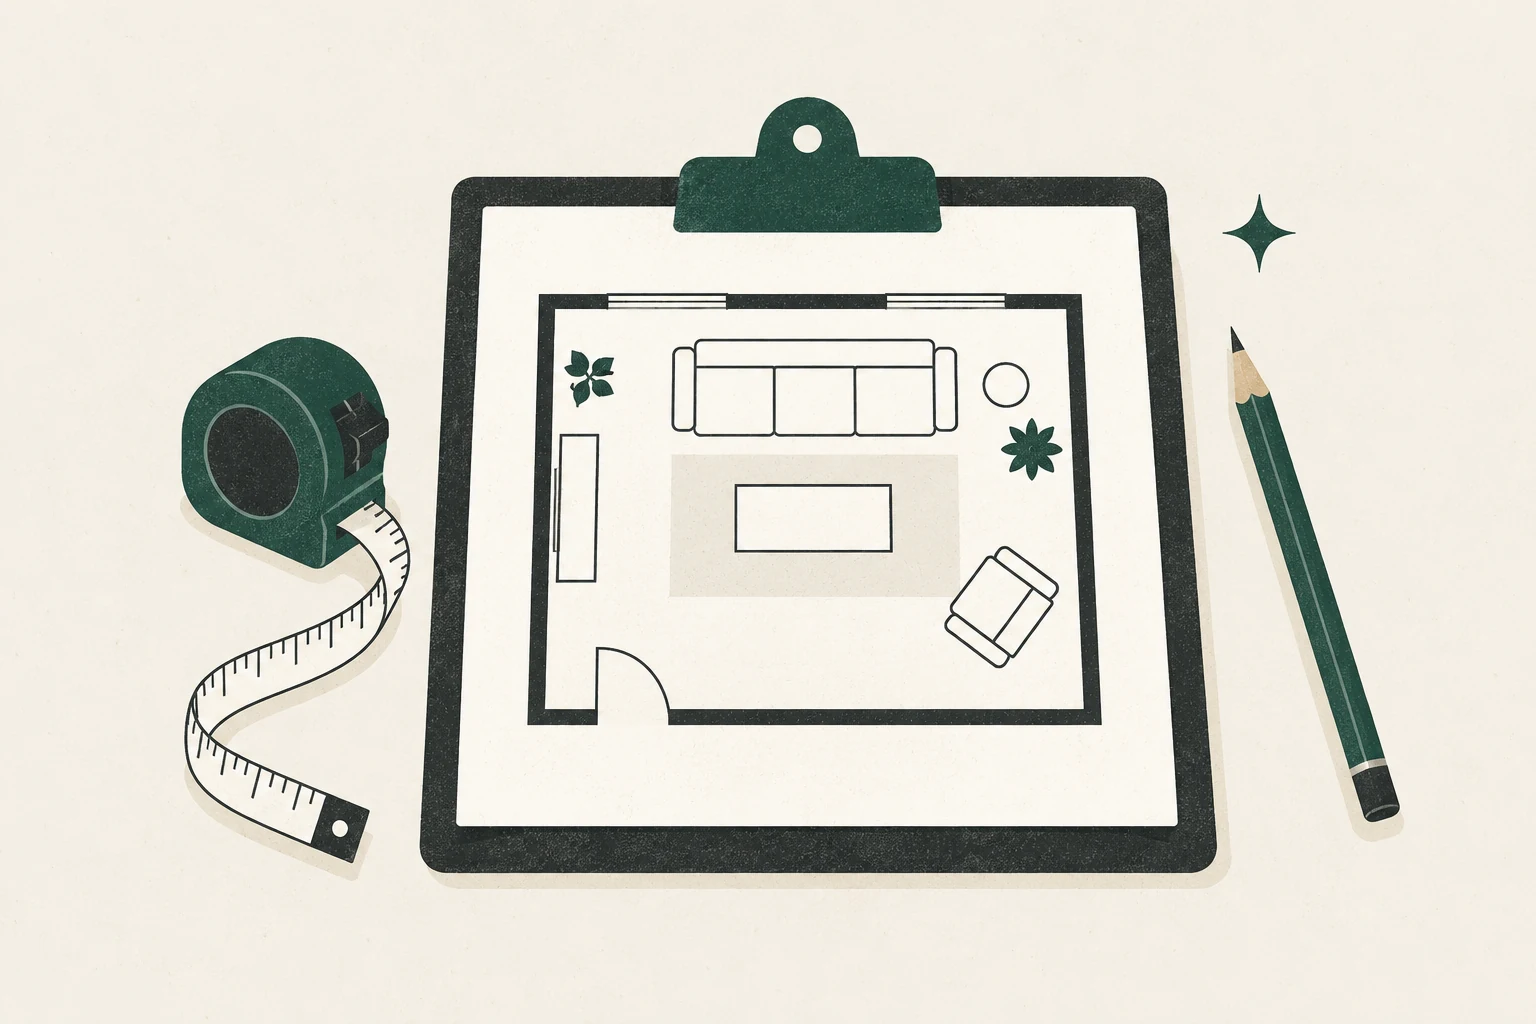
To draw a useful living room floor plan, measure the room shell first, then locate every opening and fixed feature from one consistent corner. Draw that information to scale before adding furniture footprints and walking routes. The result does not need to look architectural; it needs to be complete enough that two people would place the same sofa in the same position.
This method works with paper, pencil, and a tape measure. No account or room-planning software is required.
Difficulty: Beginner
Estimated time: 45–90 minutes for measuring and drawing, plus time to test the arrangement
Prerequisites: Safe access to the room perimeter and permission to move or mark around the furniture
What you need
- a locking tape measure or laser measure you know how to use;
- a pencil, eraser, clipboard or firm book, and plain or graph paper;
- painter’s tape for temporarily marking furniture edges on the floor;
- a second person for long measurements, if available;
- a phone camera for reference photographs, provided they do not include sensitive household details.
If reaching a measurement would require climbing unsafely, moving an unstable object, opening an electrical enclosure, or crossing a hazard, leave it unmeasured and get appropriate help. A furniture plan is not worth an injury.
Quick overview
| Step | Action | Typical time |
|---|---|---|
| 1 | Make a rough field sketch and choose a reference corner | 5–10 min |
| 2 | Measure the shell, openings, fixed features, and furniture | 20–40 min |
| 3 | Check totals, opposite walls, and uncertain numbers | 5–10 min |
| 4 | Draw the shell and furniture templates to one scale | 15–25 min |
| 5 | Mark and test the routes the household needs | 5–15 min |
| 6 | Compare purposeful layout alternatives | 10–20 min |
| 7 | Test the selected plan in the room before buying | Varies |
Step 1: Make a rough field sketch
Stand near the main entry and draw the room’s outline without worrying about scale. Move clockwise around the room and give each wall a simple identifier in your notes. Add the doorway you entered through, then every other door, window, fireplace, radiator, column, built-in, stair edge, and opening to another room.
The rough sketch is a recording sheet. It prevents a common mistake: writing a correct measurement beside the wrong wall.
Choose one corner as your origin and mark it clearly. Whenever possible, locate doors, windows, and fixed features by measuring from that same origin or another clearly named corner. A chain of many small measurements can accumulate error.
Step 2: Measure the shell, openings, and objects
1. The room shell
Measure each wall along the usable interior face. Record every segment separately when a wall steps in or out. For a nearly rectangular room, also measure the overall length and width. Do not assume opposite walls are identical; older rooms and renovations often differ slightly.
For an irregular room, take one or more diagonal checks between corners. The diagonal is not always needed on the finished drawing, but it can reveal that a corner is not square or that a number was copied incorrectly.
2. Doors and open passages
For every door, record:
- the width of the opening;
- the distance from a known corner to the near edge of the opening;
- which way the door swings and where the open leaf rests;
- any trim, stop, or handle that changes usable space.
For a cased opening or an open-plan connection, record its full width and its position along the wall. On the plan, keep the route through it visible; do not let a furniture symbol cover the opening simply because the software permits it.
3. Windows
Record the opening width and its position from a known corner. If furniture may sit below or beside it, also record the sill height and the depth of any projecting trim. Note a radiator, convector, deep ledge, or floor vent as a separate fixed feature rather than treating it as part of the window.
4. Fixed and safety-critical features
Add fireplace hearths, mantels, radiators, baseboard heaters, vents, columns, built-in shelves, floor registers, and any controls that must remain reachable. Mark electrical outlets and data points only when they affect the proposed TV, lamp, or powered furniture position.
A plan can help you notice a conflict, but it does not establish the clearance required by a fireplace, heater, appliance, building code, or accessibility standard. Follow manufacturer instructions and applicable local requirements; seek a qualified professional where needed.
5. Furniture footprints—and moving parts
Measure the maximum width and depth of each piece you may keep. Include arms, projecting feet, curved backs, and the overhang of a tabletop. For a recliner, sofa bed, extendable table, drawer unit, or cabinet, record both the closed footprint and the space needed to operate it.
Height matters when a piece may block a window, interrupt a view, sit near a heat source, or compete with artwork or a screen. Record it in a side note; a floor plan alone does not show vertical relationships.
Step 3: Check the measurements before drawing neatly
Run three quick checks:
- Segment check: do the smaller wall segments and openings add up to the overall wall length?
- Opposite-side check: are opposite walls plausibly consistent, or does the room genuinely taper?
- Reality check: does each door have room to swing, and is every fixed projection represented?
Circle any number that needs a second measurement. It is faster to revisit one wall now than to rebuild several layouts around a mistaken dimension.
Step 4: Draw the room and furniture to scale
Choose a scale that keeps the drawing large enough to move furniture shapes but small enough to fit the page.
- Metric example: at 1:50, 1 cm on paper represents 50 cm in the room. A 4.2 m wall becomes 8.4 cm.
- Imperial example: at 1/4 inch = 1 foot, a 14-foot wall becomes 3.5 inches.
Write the scale on the page. Use the same scale for the room and every furniture template.
Draw walls, openings, and fixed features
Start with the longest wall and build the shell from it. Add wall jogs, then position each door and window using its distance from the named corner. Draw door swings as arcs. Give fireplaces, hearths, radiators, and built-ins their real depth rather than a symbolic line.
Leave dimensions outside the room outline where possible. The centre of the plan should remain open for furniture and routes.
Make movable furniture templates
On a second sheet, draw the footprint of each sofa, chair, table, storage unit, and media piece to the same scale. Label the real-world object outside the shape or on the back, then cut it out.
For an item with moving parts, make a second outline or use a dotted extension. A recliner that fits only when permanently closed has not truly fit.
Step 5: Mark and test the routes that make the room work
Place the largest essential piece first, but do not finalize it until you have marked movement. Use a pencil line or a narrow strip of paper to represent:
- entry to the next room;
- entry to the main seats;
- access to windows, storage, controls, and doors;
- the space needed by the household’s mobility aids, children, pets, or caregiving routines.
There is no single circulation number that suits every household and every jurisdiction. Instead of chasing one magic clearance, reproduce the real movement you need. Place painter’s tape on the floor, walk the route, open the cabinet, pull out the sofa bed, and test whether someone can pass while another person is seated.
In feng shui terms, this is also where you observe how qi—or movement and attention—enters and circulates. A route that forces a sharp turn around a table or passes through the middle of a conversation group may feel unsettled because it is functionally awkward. Start with the observable conflict before adding a symbolic interpretation.
Step 6: Compare layouts without redrawing the room
Photograph each candidate plan from directly above or trace the room shell onto two more sheets. Give each version one clear idea:
- Plan A: open route. Prioritize the simplest passage between doors.
- Plan B: conversation. Turn seats toward one another while preserving access.
- Plan C: view or media. Improve the selected sightline without making the screen the only orientation.
For each plan, write one benefit and one compromise. “Better doorway view, but the reading chair loses daylight” is more useful than “good feng shui.” The trade-off tells you what to test in the actual room.
For compact rooms, see the small living room layout patterns. For a wider set of planning decisions, return to the living room floor plan tools guide.
Step 7: Complete the no-account room test
You can complete the entire process without uploading a plan:
- Make and verify the rough field sketch.
- Draw one clean scaled shell.
- Cut scaled furniture footprints.
- Photograph the current arrangement and two alternatives.
- Mark the main route and the main seat’s view of the door on each photo.
- Choose the option with the most useful improvement and the least disruptive compromise.
- Mark the proposed furniture edges on the real floor with painter’s tape.
- Live with the temporary arrangement before purchasing anything.
This preserves privacy and keeps the planning question small. It is also easy to share a photo of the paper plan with a household member without exposing a whole-home blueprint.
When a digital planner becomes useful
Move to software when you need repeated revisions, approximate 3D massing, a clean export, or easier duplication. Enter your verified measurements manually rather than relying on an unscaled photograph. After drawing, compare at least two dimensions in the digital plan against your field notes.
Digital tools can make a drawing look authoritative even when the input is wrong. Keep the paper sheet as the source record. Our floor plan tool guide explains how to choose between paper, RoomSketcher, PlanningWiz, and other options without paying for features you do not need.
Troubleshooting common measurement problems
The wall segments do not add up
Check whether trim, a wall jog, or an opening edge was counted twice. Return to the same reference corner and remeasure the overall wall before changing the drawing.
The last corner will not close on paper
Confirm that the room is truly square before correcting the line. Compare diagonals and record any taper. If geometry is complex or the plan affects construction, use a qualified measurer.
The furniture template fits, but the real piece does not
Look for arms, feet, curved backs, handles, power cords, or operating space omitted from the footprint. Measure the maximum used position, not the smallest closed position.
Measurement checklist
Before trying furniture layouts, confirm that you have recorded:
- [ ] every wall segment and at least one overall length and width;
- [ ] door and passage widths, positions, and door swings;
- [ ] window widths, positions, and relevant sill heights;
- [ ] the depth of fireplace, hearth, radiator, built-in, and wall projections;
- [ ] fixed controls or outlets that matter to the plan;
- [ ] maximum furniture footprints and operating space;
- [ ] the drawing scale;
- [ ] at least one route through the room;
- [ ] any uncertain measurements that still need checking.
Frequently asked questions
Should I measure from the wall or the baseboard?
Use the surface that determines real fit. A projecting baseboard, radiator, or trim can reduce usable depth, so record it when a close-fitting piece matters. For the room shell, be consistent and note your measuring line.
How accurate does a furniture plan need to be?
Accurate enough that accumulated error will not change the decision. Record to the practical precision of your measuring tool, double-check tight fits, and leave real-world tolerance. Do not order custom furniture from an informal planning sketch alone.
What if the room is not square?
Measure every wall and add diagonal checks. Draw the actual shape rather than forcing it into a rectangle. For complex geometry or work affecting construction, use a qualified measurer or designer.
Can I measure with a phone app?
A phone scan can be a useful cross-check, but device, lighting, surface, and technique can affect results. Verify critical dimensions with a physical or laser measure before deciding that furniture fits.
What is the first no-purchase improvement to test?
Clear and test the main route. Temporarily shift the smallest movable obstacle, then notice whether the entry, seating, and next-room connection become easier to use. That observation should guide the next move.